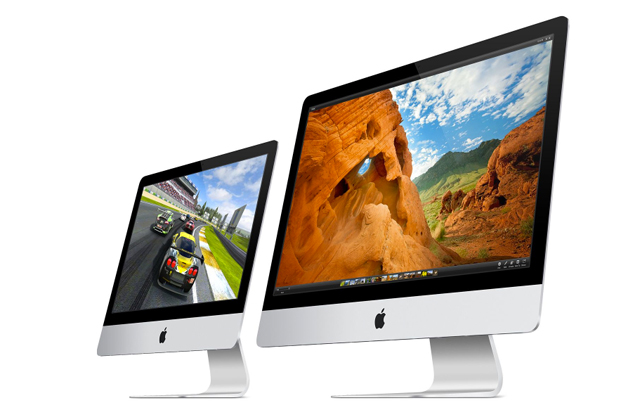
The iMac is a great machine that can last you a very long time. In its life, there are two things that you may find yourself wishing to upgrade, the memory and hard drive. Memory is easy enough to get to but the hard drive can seem a little daunting to some.
I’ll go through how to open the iMac up, just enough to replace the hard drive. There is risk involved with this but if you take your time, you should be just fine. If you want to transfer your data to the new drive before you begin, I recommend using a USB drive adapter such as this one by Apricorn and Carbon Copy Cloner.
Disassembly
- The glass is held in by magnets so use your suction cups to pull the glass off the iMac.


- Remove the memory door on the bottom of the iMac.

- Remove the Torx screws that are holding the metal case on.

- Pull the metal case off by starting at the top. You will see a connection by the iSight that you need to disconnect. After that, the case will slide right off.

- Now the remove the screws on the sides of the actual LCD screen.

- Gently rock the LCD screen forward from the top and you will see the hard drive behind it. You may need to disconnect the two wires running to the LCD.

- Pull on the back plastic bar on the left side and it will swing out.

- Remove the heat sensor by pulling off the foam and sensor carefully. Set the foam aside so we can use it to re-attach the sensor to the new drive.

- The drive is ready to be come out by rocking the top out of the frame and then pulling it up.

- Once out, we need to transfer the Torx screws to the new drive.


To reassemble, just follow the same steps in reverse. Go slowly and don’t force anything. All the pieces should slide back together without much effort. Some people like to take the LCD screen all the way off and that’s fine. You will need a T7 bit to disconnect the LCD screen from the board and just remember where each connector goes. Before you put the glass back on, use some canned air to blow off any dusk that may have settled on the LCD screen.

